


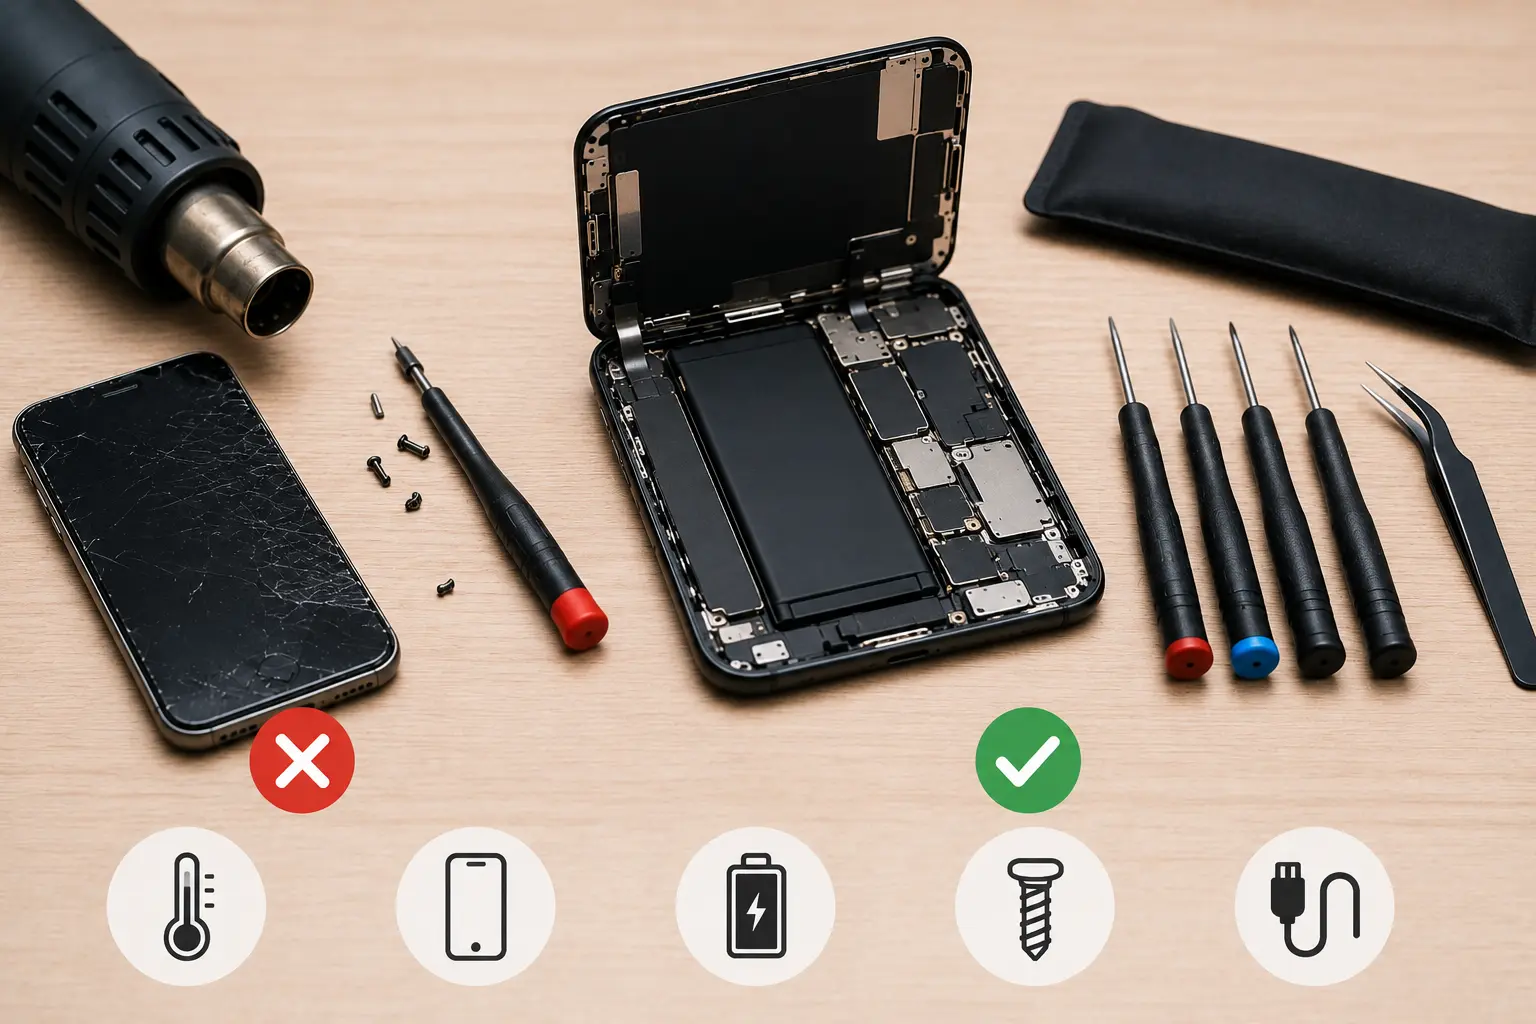
Good Intentions, Bad Outcomes
DIY phone repair content is everywhere. YouTube tutorials make screen replacements and battery swaps look easy. And some of them are, if you have the right tools, the right parts, and experience. But for most people attempting their first iPhone repair, a few common mistakes turn a fixable problem into a much more expensive one.
Mistake 1: Using a Heat Gun Without Temperature Control
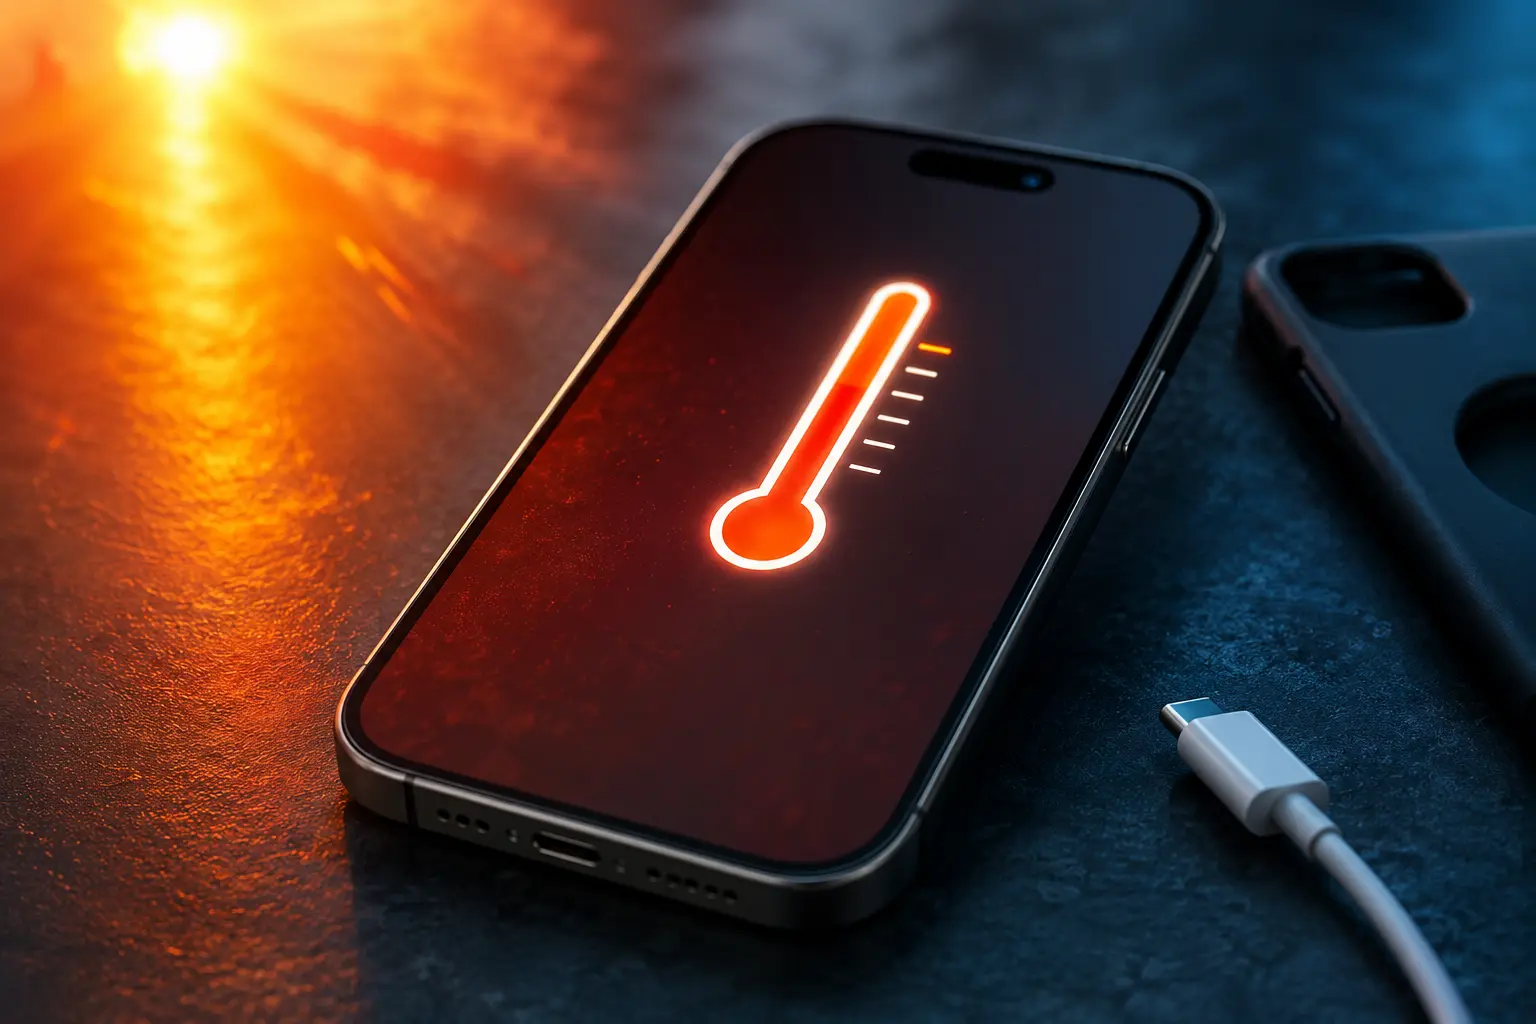
iPhones use adhesive to bond the screen to the frame. To separate them, you need controlled heat, typically around 80 to 90 degrees Celsius applied evenly. A hair dryer doesn't get hot enough. A heat gun without a temperature dial gets way too hot.
Excessive heat damages the OLED panel (causing permanent discoloration or dead pixels), melts internal flex cables, and can compromise the battery's safety enclosure. If you're going to apply heat, use a purpose-built heating pad or iOpener (a heated bag designed for phone repair). Never point an uncontrolled heat gun directly at the screen.
Mistake 2: Buying the Cheapest Screen Online
Ultra-budget aftermarket screens are cheap for a reason. These panels use lower-quality glass, inferior touch digitizers, and uncalibrated color output. They also often lack True Tone data, so the True Tone option may not work after the swap.
Even if the installation goes perfectly, a bad screen produces a noticeably worse experience: washed-out colors, touch lag, poor viewing angles, and earlier failure. You can verify parts quality after installation using the method in our genuine parts guide.
If you're paying a shop for a repair, make sure they tell you exactly what part they're using. Our guide on avoiding repair scams covers what to ask.
Mistake 3: Forgetting to Disconnect the Battery
This is the mistake that causes the most expensive damage. Before disconnecting or reconnecting any internal component, the battery must be disconnected first. If you unplug or replug a flex cable while the battery is still connected, a short circuit can fry the backlight circuit, touch IC, or other components on the logic board.
Board-level damage from a short circuit during a DIY repair is one of the most common reasons people end up at a professional shop after a failed self-repair. What would have been a straightforward screen replacement now requires a board repair on top of it.
Mistake 4: Stripping or Over-Tightening Screws
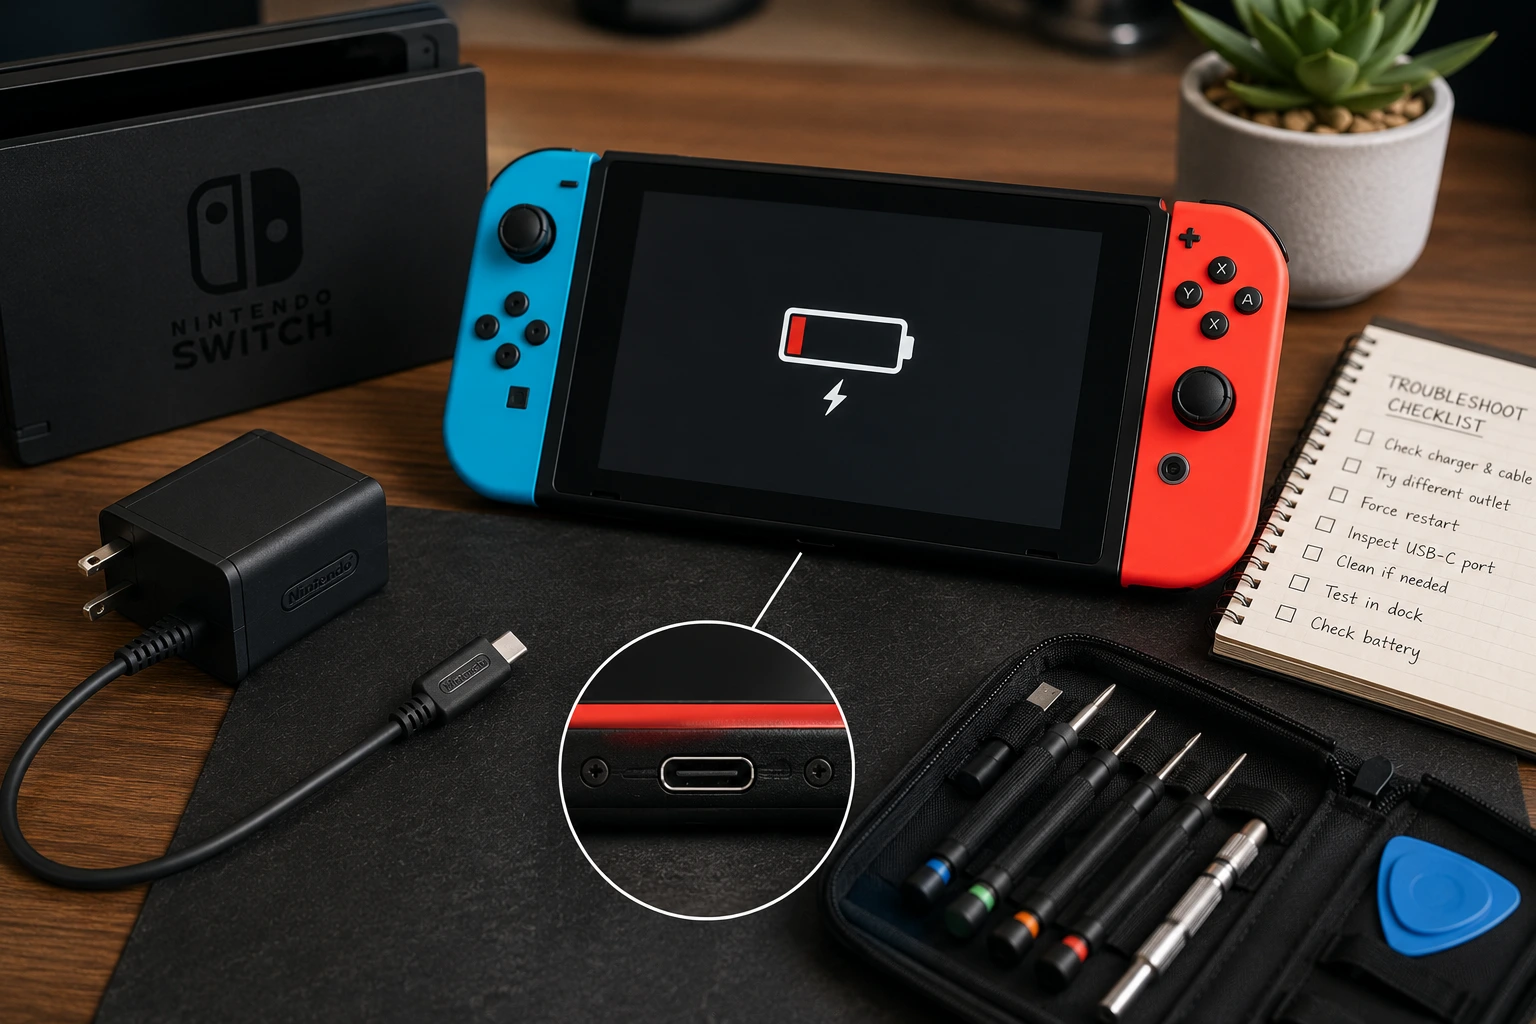
iPhones use tiny pentalobe and tri-point screws that are easy to strip with the wrong screwdriver bit. Stripped screws are difficult to remove later and may require drilling, which risks damaging the housing.
Over-tightening screws is equally problematic. A screw that's torqued too hard can crack the screen from behind, puncture a flex cable underneath, or crack the logic board. These screws need to be snug, not tight. If you feel resistance, stop.
Use a quality screwdriver kit designed for phone repair. The cheapest kits with soft bits will strip screws on the first use.
Mistake 5: Prying From the Wrong Side
Every iPhone model has a specific opening point. On most recent iPhones, the screen is hinged at the left side and opens like a book from right to left. Prying from the wrong side can tear flex cables that connect the screen to the board.
Torn flex cables mean the display, touch layer, or Face ID / Touch ID stop working even after a new screen is installed. Some flex cables can be replaced, but Face ID-related cables on older models cannot be re-paired to the board, making the damage permanent.
When DIY Goes Wrong
We see failed DIY repairs at our Albuquerque shop regularly. The most common scenarios are stripped screws, torn cables, and board damage from working with the battery connected. In most cases, we can still fix the phone, but the repair is more involved than if it had come to us first.
Our iPhone screen replacements use high quality parts and include our Lifetime Limited Warranty. Reach out here for a free assessment.