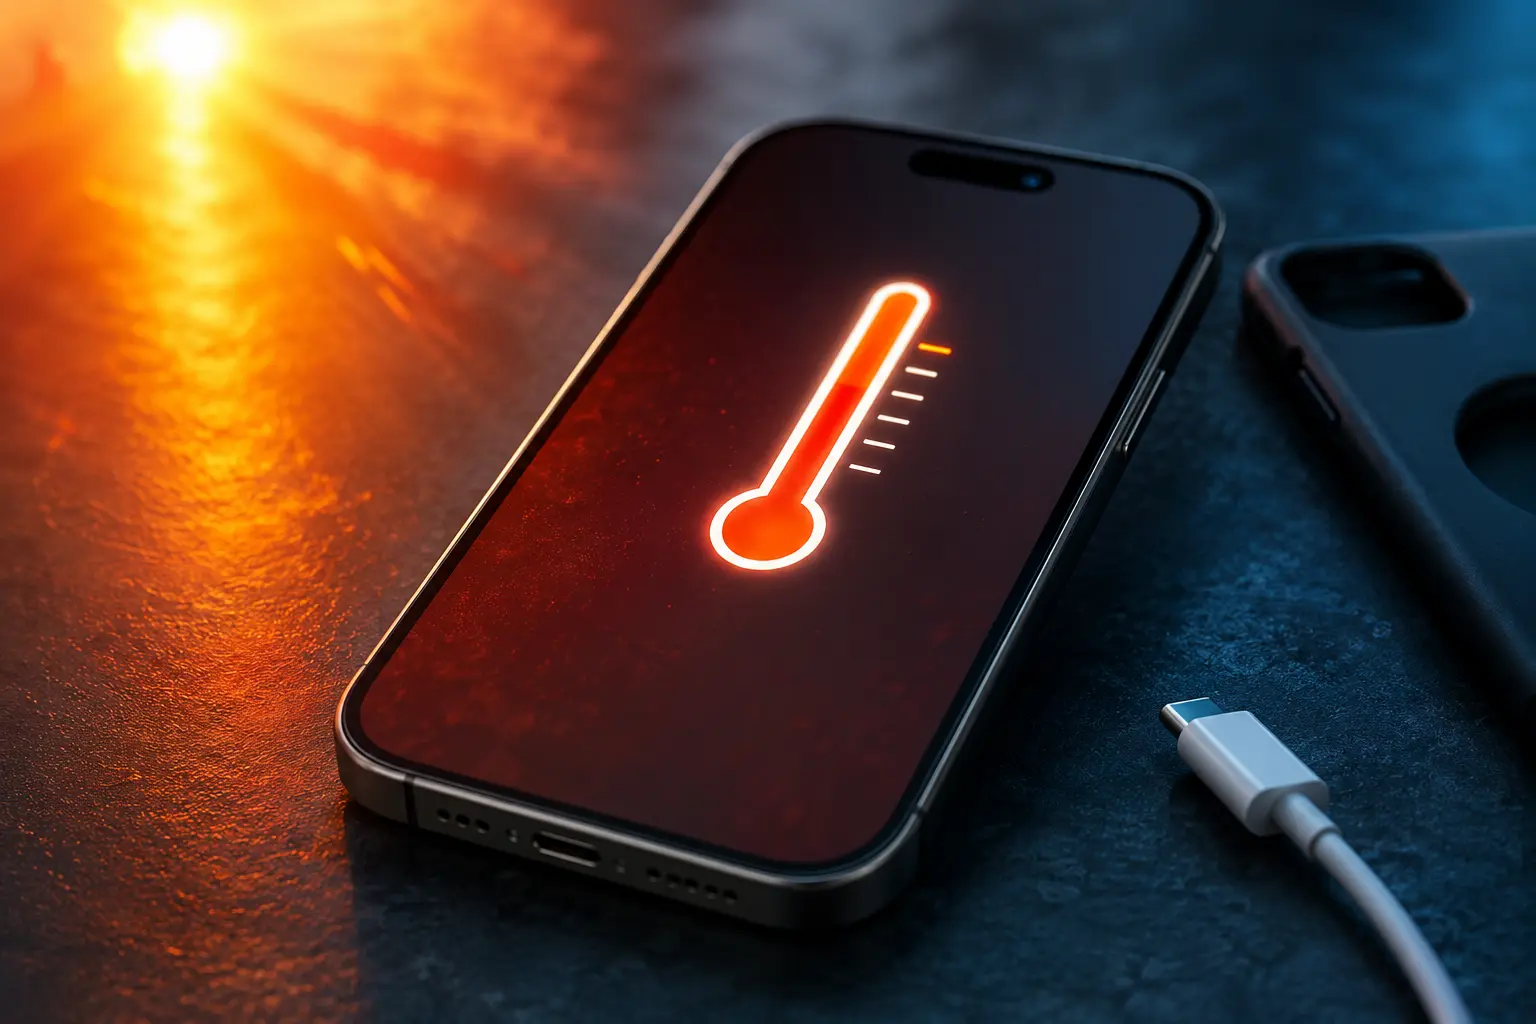
Why Backing Up Matters Before a Repair
Most phone repairs don't touch your data. Screen replacements, battery swaps, and charging port repairs leave your files exactly where they are. But there are situations where data can be at risk: a repair that requires a motherboard replacement, a phone that needs to be factory reset to resolve a software issue, or a device with severe water damage where data recovery is uncertain.Backing up takes a few minutes and gives you a safety net regardless of what the repair involves.
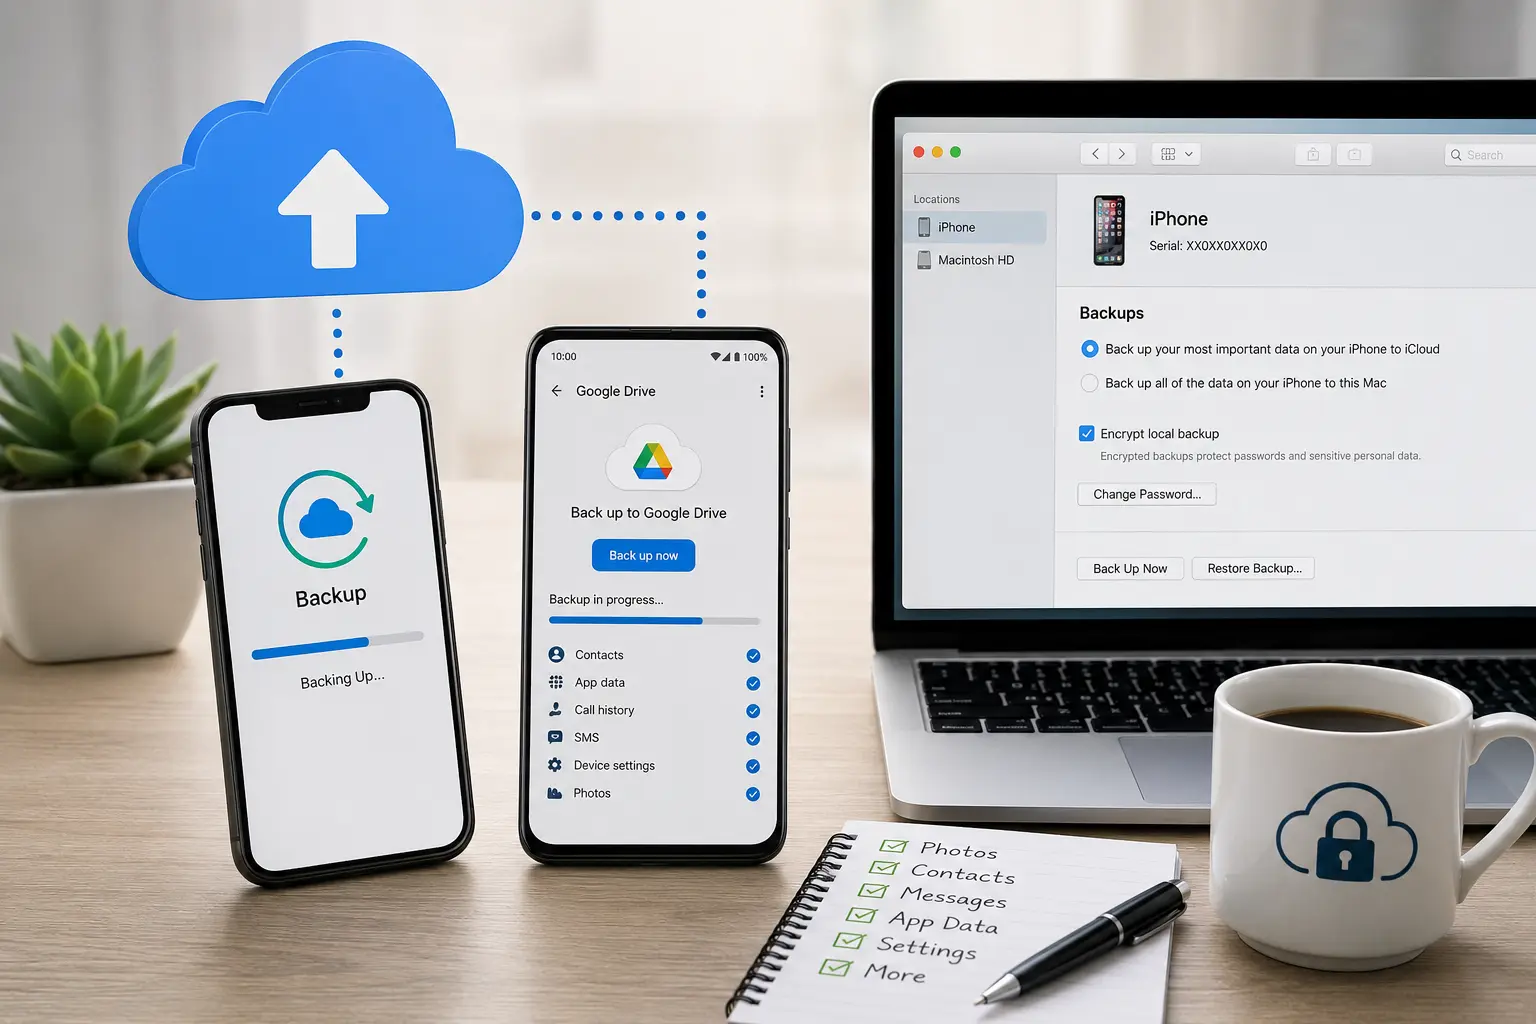
Backing Up an iPhone
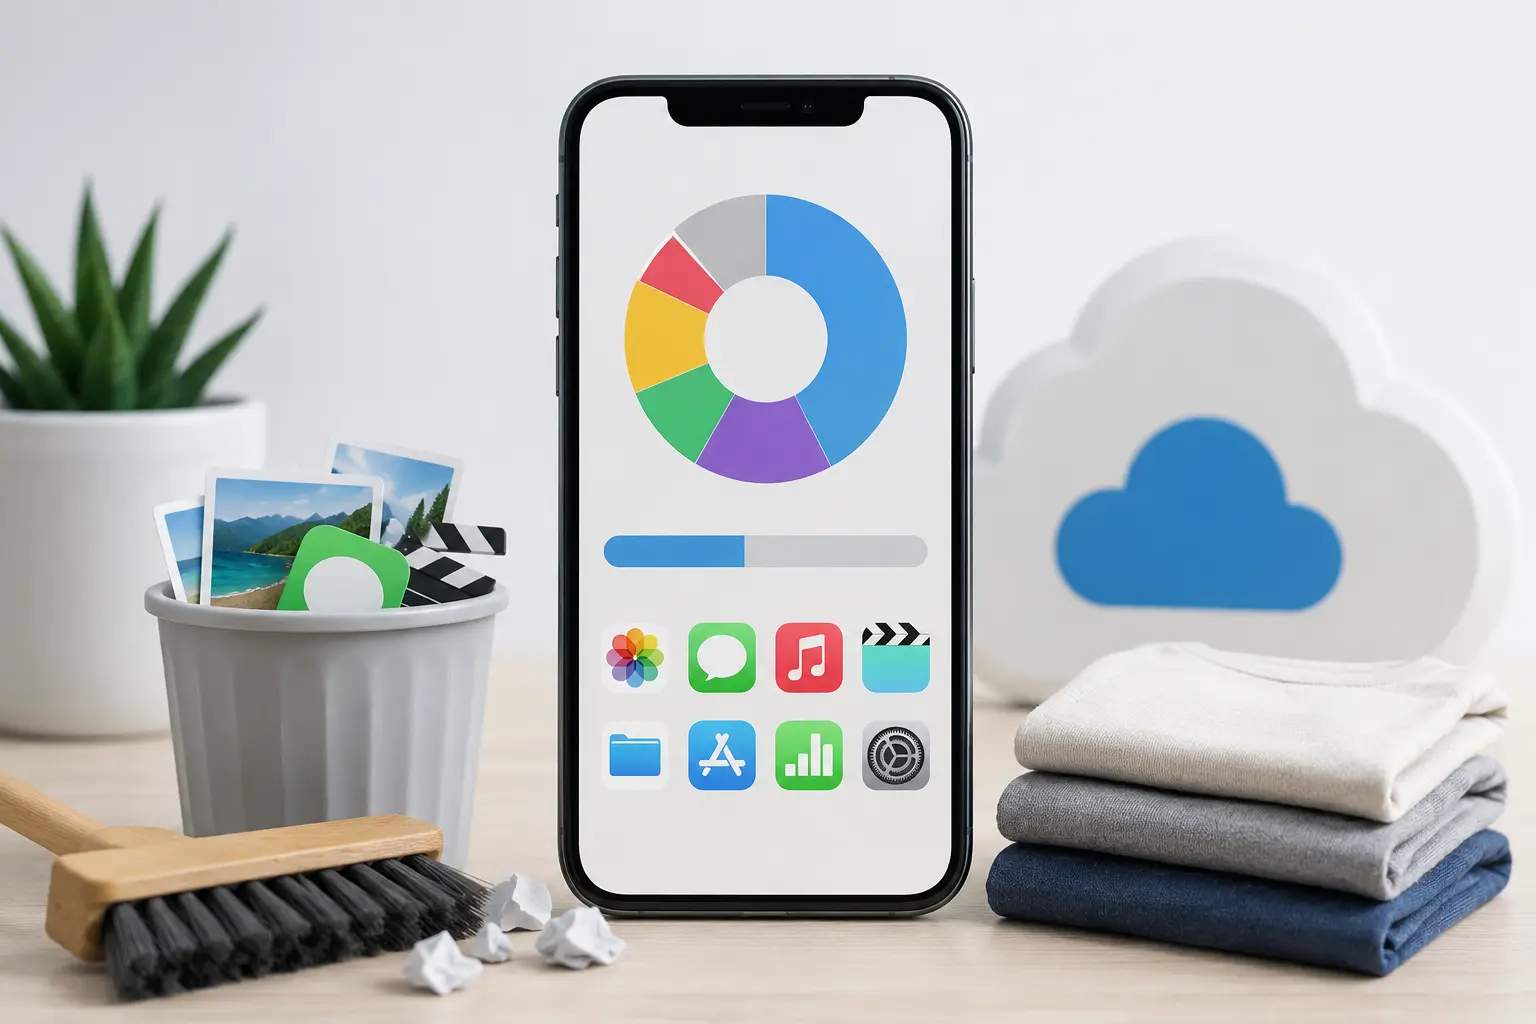
iCloud (simplest method): Go to Settings > [Your Name] > iCloud > iCloud Backup > Back Up Now. Your phone needs to be connected to Wi-Fi. The backup includes photos, app data, messages, settings, and most of what's on your phone.If you see a message saying you don't have enough iCloud storage, you can temporarily upgrade to a larger plan for the backup (even the 50GB plan at $0.99/month is enough for most people) and downgrade afterward.
Computer backup (more complete): Connect your iPhone to a Mac (Finder) or PC (iTunes) with a cable. Select your phone when it appears. Click "Back Up Now." For a truly complete backup, check "Encrypt local backup" before starting. Encrypted backups include saved passwords, Health data, and Wi-Fi settings that unencrypted backups skip.
Backing Up an Android Phone
Google backup: Go to Settings > Google > Backup (path varies slightly by manufacturer). Toggle on "Back up to Google Drive." Tap "Back up now."This covers contacts, app data, call history, SMS, device settings, and photos (if Google Photos backup is enabled). Check Settings > Google > Photos to make sure photo backup is turned on and has finished syncing.
Samsung-specific: Samsung phones have an additional backup option through Samsung Cloud. Go to Settings > Accounts and backup > Samsung Cloud > Back up data. This catches Samsung-specific items like home screen layouts, Samsung Notes, and Samsung Health data.
What Backups Don't Cover
Some app data requires in-app backup. WhatsApp, for example, stores message history in its own backup system (WhatsApp > Settings > Chats > Chat Backup). If you don't back up within the app, your message history won't be in your iCloud or Google backup.Banking apps, authenticator apps (Google Authenticator, Authy), and some gaming apps store data locally. Check whether these apps have their own export or backup options before bringing the phone in.
How to Recover Photos If Your Screen Is Broken
If your phone's screen is cracked, unresponsive, or completely black, the standard backup steps above won't work because you can't interact with the device. Here's how to get your photos and data off a broken phone.
If the Screen Is Cracked but Touch Still Works
Run the iCloud or computer backup using the methods above. As long as you can navigate Settings and tap buttons, the backup process works normally even with a cracked display. Do this before bringing the phone in for repair, just in case.
If the Screen Is Completely Unresponsive (iPhone)
Connect the iPhone to a Mac or PC that you've previously synced with. If the computer recognizes the phone, you can back up through Finder or iTunes without needing to interact with the phone's screen.
If the computer doesn't recognize the phone (or you've never synced with it before), you'll need to trust the computer from the phone's screen, which is impossible if touch is dead. In this case, connect a Lightning or USB-C to HDMI adapter and an external display, then pair a Bluetooth mouse or keyboard through Settings > Accessibility > Touch > AssistiveTouch. This gives you a way to navigate the phone's interface on an external screen.
If iCloud backup was already enabled before the screen broke (it's on by default), your most recent photos may already be in iCloud. Check iCloud.com from any browser and sign in with your Apple ID to see what's there.
If the Screen Is Completely Unresponsive (Android)
Connect the phone to a computer via USB. If the phone had USB debugging enabled in developer settings (most people don't), you can pull files directly using ADB commands. If USB debugging wasn't enabled, you'll need to use an OTG adapter with a USB mouse to navigate the phone's screen, assuming the display still shows an image.
For Samsung phones, you can also log into Samsung Cloud or your Google account from a browser to access any photos that were backed up before the screen broke.
If the Phone Won't Turn On at All
When the phone is completely dead (no screen, no vibration, no response to charging), data recovery depends on the cause. If it's a battery issue, a new battery may bring the phone back to life with all data intact. If it's a board-level failure, a technician may be able to access the storage chip directly, though this is a more complex and specialized process.